Alright friend, pull up a chair at my very cluttered kitchen table, ignore the stack of permission slips and sports schedules, and let me tell you all about the cookie that never, ever lasts more than a day in my house. Around here, these are affectionately (and dramatically) known as The Disappearing Cookies—because if you blink, they’re gone. Vanished. Reduced to a few suspicious crumbs and two teenage boys swearing they “only had one.”
I’m a busy housewife, a full-time mom to two perpetually hungry teenage boys, and a wife to a man who claims he doesn’t have a sweet tooth…yet somehow always ends up with chocolate on his fingers. I also happen to be a food blogger, which means I test recipes in real life—amid laundry piles, homework questions shouted from across the house, and dogs that believe anything dropped on the floor is legally theirs.
And let me tell you: this dairy-free chocolate chocolate chip cookie recipe has survived it all.
Life in a House Where Food Is a Competitive Sport
If you don’t have teenage boys, let me paint you a picture. Imagine grocery shopping as an Olympic event. You buy snacks on Monday, and by Wednesday you’re staring into an empty pantry wondering if raccoons broke in. You label leftovers. They disappear. You hide chocolate. They find it.
So when I tell you a recipe is good, I don’t mean “polite company good.” I mean teenage-boy-approved, husband-requested, bake-again-immediately good.
These cookies?
They don’t just get eaten.
They get hunted.
The first time I made them, I set a plate on the counter to cool while I went to swap laundry. I came back to exactly three cookies left and two boys claiming they were “just checking if they were done.” Sure, kids. Sure.
Now anytime I bake these, I double the batch—or at least I intend to. Sometimes doubling just means the cookies disappear twice as fast.
Why Dairy-Free in My House?
We’re not a strictly dairy-free household, but over the years I’ve learned that dairy-free baking can be just as indulgent, rich, and satisfying—sometimes even better. Between friends with sensitivities, school events, and just wanting to feel good after dessert, I’ve fallen in love with plant-based swaps that actually work.
Country Crock Plant Butter is one of those staples I always keep in the fridge. It bakes beautifully, creams like a dream, and no one—absolutely no one—can tell these cookies are dairy-free unless I tell them.
And even then, they usually respond with, “Wait… what?” while reaching for another.
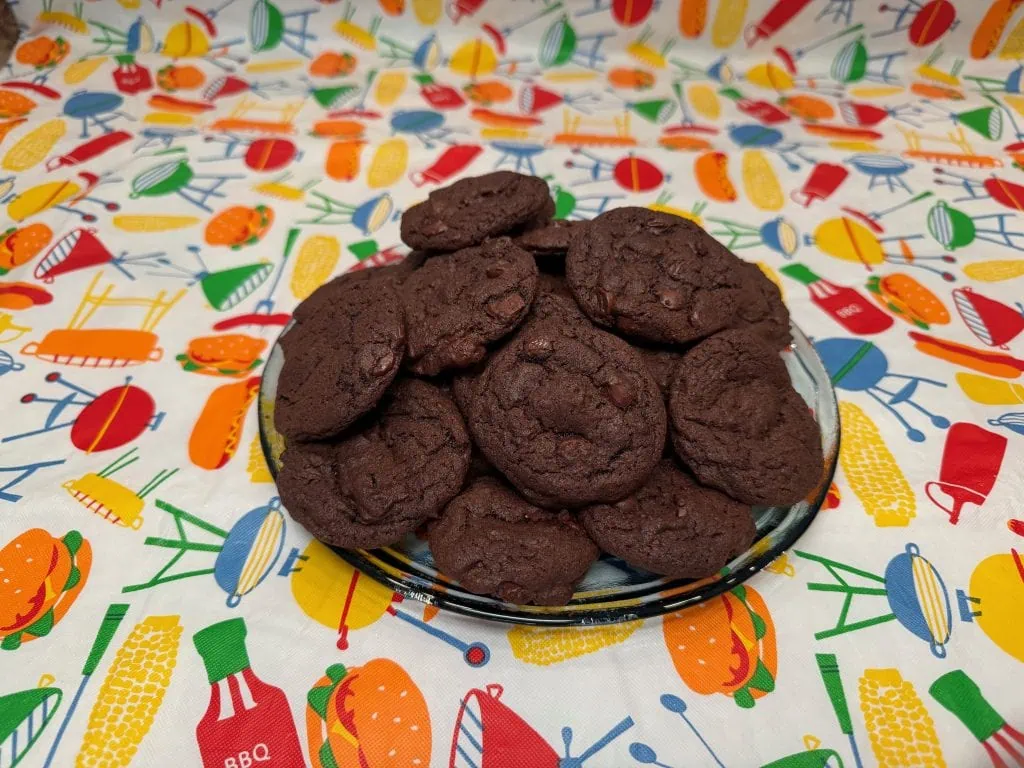
Meet the Star: Dairy-Free Chocolate Chocolate Chip Cookies
These cookies are deep, dark, rich, and fudgy, with crisp edges and soft centers. They’re the kind of cookie that feels slightly indulgent and completely comforting all at once.
Chocolate cookie base? ✔
Chocolate chips folded in? ✔
Dairy-free and still amazing? ✔✔✔
Basically, if a brownie and a cookie had a very delicious baby, this would be it.
Ingredients (Simple, Honest, Pantry-Friendly)
Here’s what you’ll need:
- 1 1/4 cups all-purpose flour
- 1/2 cup cocoa powder (use a good one—it matters here)
- 1 teaspoon baking soda
- 1/2 teaspoon salt
- 2 sticks (1 cup) Country Crock Plant Butter, softened
- 1 cup brown sugar
- 3/4 cup granulated sugar
- 1 teaspoon vanilla extract
- 2 eggs
- Dairy-free chocolate chips (measure with your heart, but about 1 to 1½ cups)
Nothing fancy. Nothing intimidating. Just solid ingredients that come together into cookie magic.
Let’s Bake (A Very Real-Life Walkthrough)
Step 1: Preheat & Mentally Prepare
Preheat your oven to 375 degrees.
This is also the moment where I usually:
- Yell, “Who left their shoes in the kitchen?”
- Move a backpack off the counter
- Shoo someone out of the fridge
Baking is about multitasking, after all.

Step 2: Dry Ingredients First (Because Organization Is a Lie, But We Try)
In a large mixing bowl, add:
- Flour
- Cocoa powder
- Baking soda
- Salt
Whisk everything together really well. Cocoa powder loves to clump, and we’re not here for surprise bitter pockets in our cookies.
Once mixed, set this bowl aside. This is the calm-before-the-storm bowl.
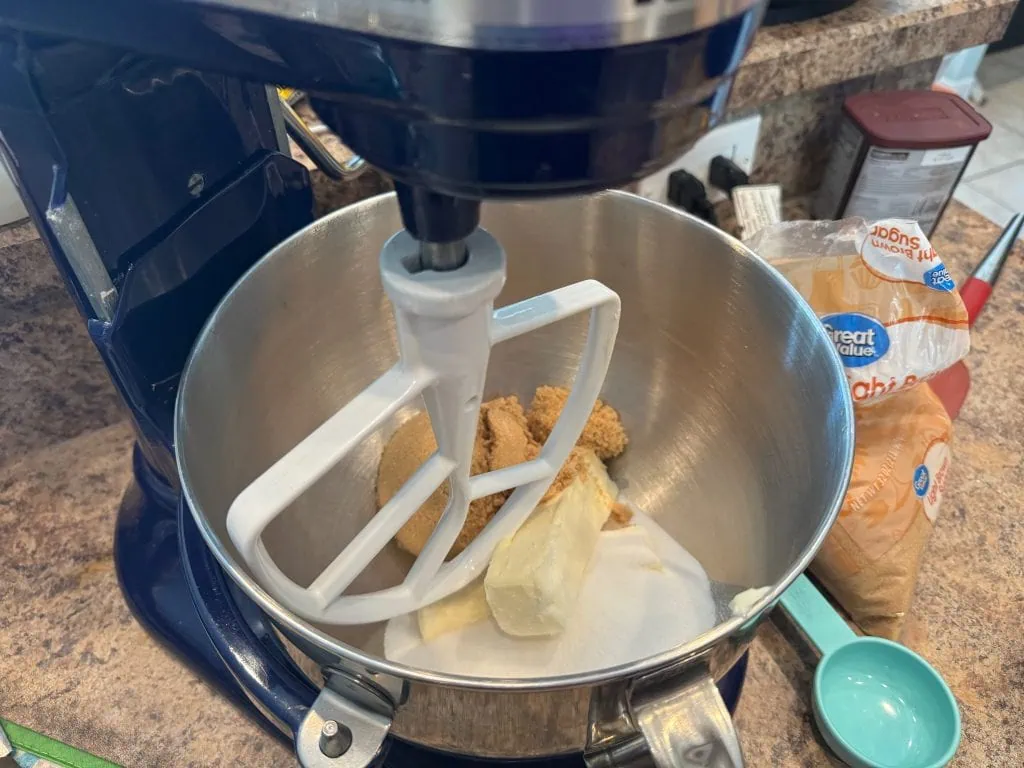
Step 3: Cream the Butter & Sugars (The Magic Step)
In your stand mixer (or a hand mixer if that’s what you have), add:
- Softened plant butter
- Brown sugar
- Granulated sugar
Blend until light and fluffy. This step is crucial. Creaming introduces air, which gives your cookies that perfect texture—soft but not dense, rich but not heavy.
I usually let this go for a good 2–3 minutes while I answer at least one random teenage question like:
“Mom, can you sign this?”
or
“Is there anything to eat?”
(No. There will be, in about 20 minutes.)
Step 4: Eggs & Vanilla
Add the vanilla extract, then the eggs, one at a time.
Scrape down the sides of the bowl. And then scrape again. Plant butter likes to cling, and we want everything evenly mixed.
At this point, the batter already smells incredible—deep chocolate, warm vanilla, sugary goodness. This is usually when my husband wanders into the kitchen “just to see what I’m making.”
Step 5: Slowly Add the Dry Ingredients
With the mixer on low, gradually add the flour mixture.
Do not rush this step. Flour clouds are not cute, and overmixing leads to tough cookies. Mix just until everything is moistened and combined.
The dough will be thick and dark—almost brownie-like. This is exactly what we want.
Step 6: Chocolate Chips (The Non-Negotiable Part)
Fold in your dairy-free chocolate chips.
I don’t measure these with precision anymore. I pour until it feels right, and then I add a little more because my kids swear they can tell when I skimp.
This dough is dangerous. I have to actively stop people from “taste-testing” too aggressively.
Baking the Cookies (And Guarding Them With Your Life)
Step 7: Scoop & Space
Scoop tablespoon-sized mounds of dough onto a lined cookie sheet, spacing them about 2 inches apart.
They will spread just enough, creating those perfect crinkled edges.
Step 8: Bake
Bake for 8–10 minutes.
Yes, that’s it. Do not overbake. They may look slightly underdone in the center, but trust me, carryover heat is your friend.
If you want softer cookies, pull them closer to 8 minutes. If your family likes a firmer edge, go closer to 10.
Step 9: Cooling (The Hardest Part)
Let the cookies cool on the pan for 2 minutes, then transfer to a wire rack.
This is also the moment where:
- Hands reach out “just one”
- Someone burns their tongue
- Someone else laughs at them
Worth it.
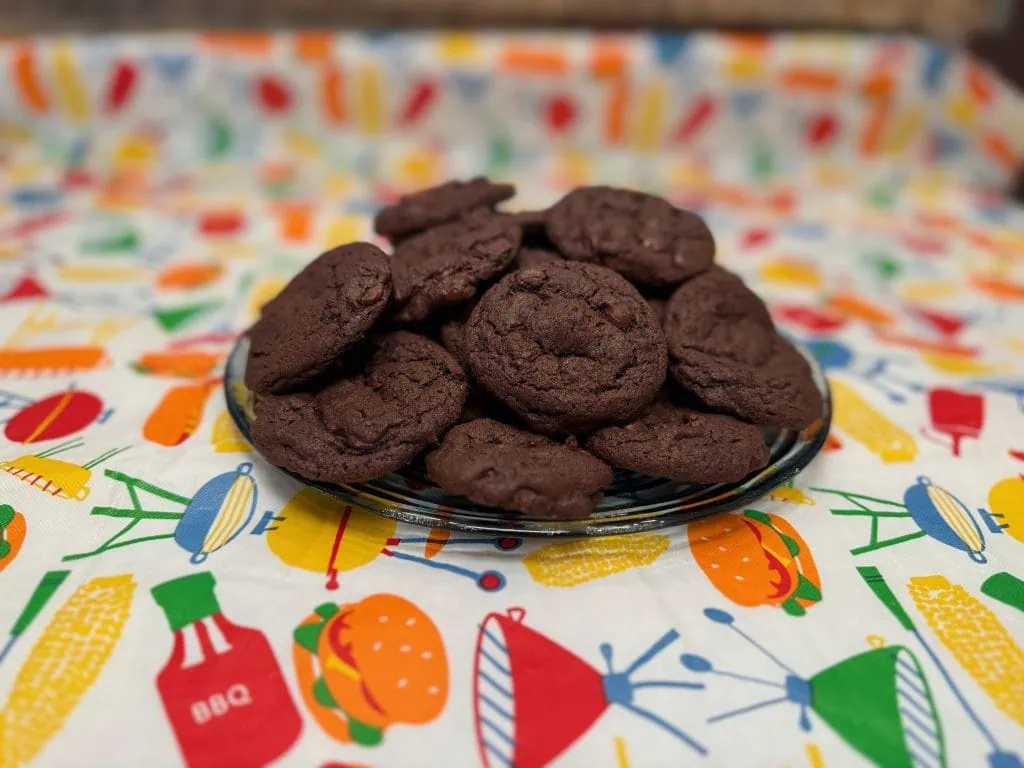
Why These Are Called “The Disappearing Cookies”
I didn’t name them that for fun. I named them that out of lived experience.
I’ve:
- Made them for school events (never brought leftovers home)
- Made them for neighbors (they asked for the recipe immediately)
- Made them “just for the family” (huge mistake, I should’ve tripled it)
My boys will eat them warm, cold, straight off the counter, or sneak one wrapped in a napkin into their room like it’s contraband.
My husband? He pretends he’s only having one. Then I find the empty plate later.
Tips From a Mom Who’s Made These Too Many Times to Count
- Use good cocoa powder – It’s the main flavor, so quality matters.
- Don’t overmix – Tough cookies are sad cookies.
- Double the batch – I am begging you.
- Hide a few – Future you will be grateful.
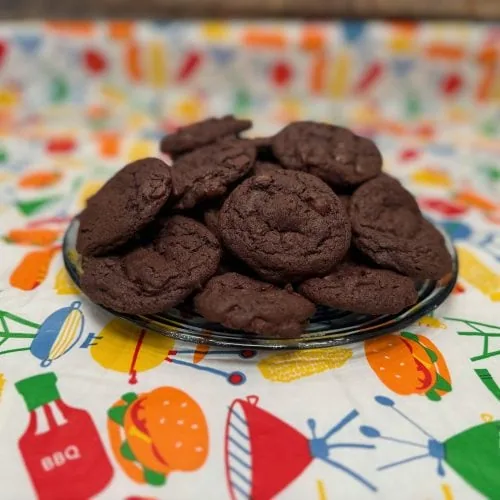
Storing (If You Somehow Have Leftovers)
Store in an airtight container at room temperature for up to 4 days—in theory.
In reality? They’re gone in 24 hours.
They also freeze beautifully, both baked and unbaked. I like to freeze dough balls for emergency cookie situations (which are very real in this house).
Final Thoughts From a Tired, Happy Mom
There’s something deeply satisfying about a recipe that brings everyone into the kitchen. These cookies do that. They stop the noise for a moment. They create smiles, chocolatey fingers, and memories that feel small but matter so much.
In a world that’s busy, loud, and constantly pulling us in different directions, these cookies are a pause. A sweet one. A chocolate-filled one.
So from one busy mom to another: bake the cookies. Guard them fiercely. And enjoy every bite—because they won’t last long.
Happy baking 💛
Dairy-Free Chocolate Chocolate Chip Cookies
Ingredients
- 1 1/4 cup all purpose flour
- 1/2 cup cocoa powder
- 1 tsp baking soda
- 1/2 tsp salt
- 1 cup country crock plant butter
- 1 cup brown sugar
- 3/4 cup sugar
- 1 tsp vanilla
- 2 eggs
Instructions
- Instructions
- Preheat the oven to 375 degrees. In a large mixing bowl add the flour, cocoa powder, baking soda, and salt. Mix well and set a side.
- In a stand mixer add the plant butter and sugars. Blend until fluffy.
- Next add the vanilla and eggs. Scrape down the bowl to make sure they get well incorporated.
- Slowly add the flour mixture. Mix until just moistened. Then add the dairy-free chocolate chips.
- Scoop Tablespoons full on to a cookie sheet 2 inches apart. Then bake for 8-10 minutes. Allow to cool on the pan 2 minutes before moving to a rack to cool.
- Enjoy!